Master Mounting in Monster Hunter Wilds
Mastering the art of mounting is crucial for dominating battles in Monster Hunter Wilds. Controlling these massive creatures can turn the tide of combat, allowing you to steer monsters into traps, orchestrate clashes with other beasts, or set up devastating team attacks. Here's your complete guide to mounting mechanics.
Recommended Videos
Mastering Monster Mounts in Monster Hunter Wilds
While equipping top-tier weapons and armor matters in Monster Hunter Wilds, true combat mastery comes from controlling engagements. Mounting monsters provides tactical advantages like positioning beasts for environmental hazards, triggering turf wars, and creating attack openings for your team.
Several mounting techniques exist, but success depends on precise timing, damage output, the monster's mounting resistance, and your weapon choice. Mounting serves multiple purposes - weakening foes for capture or delivering finishing blows.
Utilizing Elevated Terrain
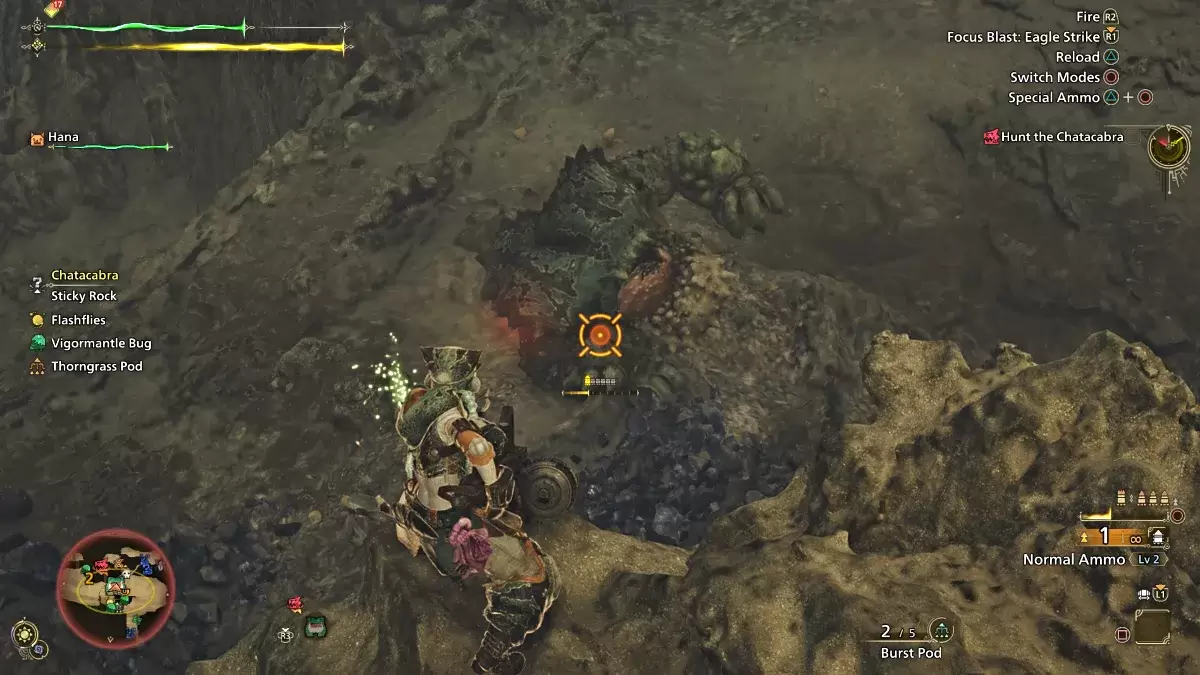
The simplest approach involves leveraging high ground when available. Scout battlefields for cliffs or ledges above your target.
Quickly scale these vantage points before your quarry follows. Wait for the monster to position itself below, then time your leap perfectly. Once mounted, maintain control through rapid knife strikes and weapon attacks to prolong your advantage.
Seikret Mounting Technique
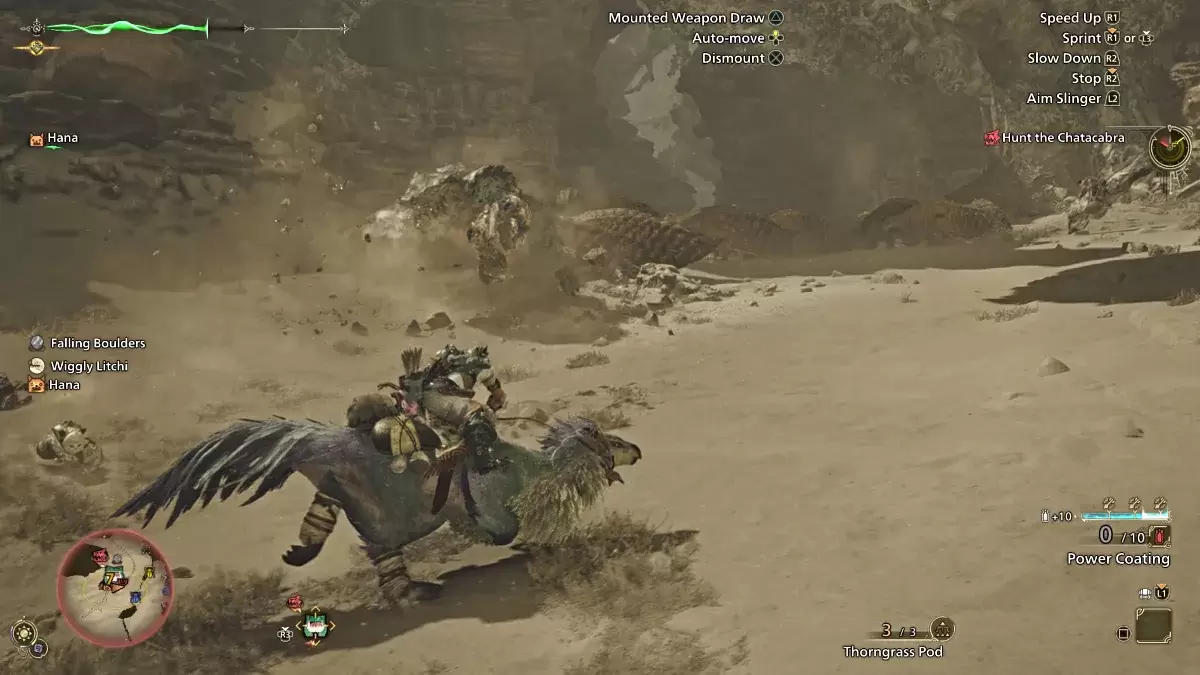
Ranged combatants favor this approach. Ride your Seikret near the monster, then execute a dismounting air attack. A well-timed aerial slash during dismount can transition directly into a successful monster mount.
Aerial Combat Mounting
Melee specialists, particularly Insect Glaive users, excel at this method. Since mounting vulnerability builds from consecutive aerial strikes, weapon combos naturally create mounting opportunities during standard combat maneuvers.
With these techniques mastered, you'll dominate the wilds through superior battlefield control. For more advanced strategies, check our guide on unlocking high-rank content.
Monster Hunter Wilds is available on PlayStation, Xbox, and PC platforms.
-
 LEGO’s October lineup is already shaping up to be exceptional, with fresh Wednesday-themed sets and the long-awaited LEGO Game Boy making waves. But another thrilling build is ready to steal the spotlight this spooky season: Gizmo from Gremlins is joAuthor : Joshua Feb 24,2026
 -
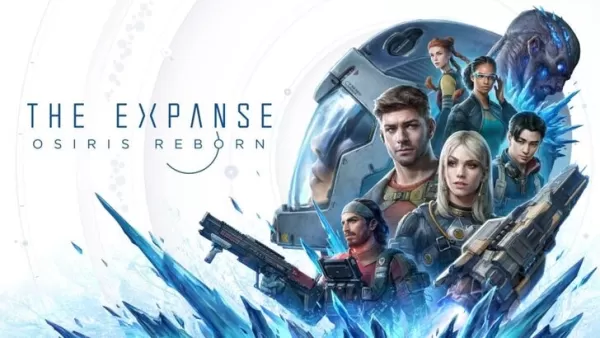 Deluxe PackPriced at $59.99, the Deluxe Pack contains the following items: ⚫︎ Early Adopter Item ⚫︎ Name in Credits ⚫︎ Discord Role ⚫︎ Miller’s OPA Heavy Armor ⚫︎ Spec Ops Assault RifleThis pack is exclusively available on Owlcat Games’ officialAuthor : Noah Feb 23,2026


- Stardew Valley: How To Befriend Willy
- Crunchyroll Game Vault adds Battle Chasers: Nightwar, Dawn of the Monsters, Evan’s Remains and more
- DISCOVERY CHANNEL TO UNVEIL CROSSOVER IN 'Reverse: 1999' 2.0
- Hotta Studio's Open-World RPG, Neverness to Everness, Announced
- Military Strategy Game Warpath Launches a Navy Update with 100 New Ships
- Half-Life 3 Speculations Spark Again as Risk of Rain Original Devs Join Valve's Game Dev Team